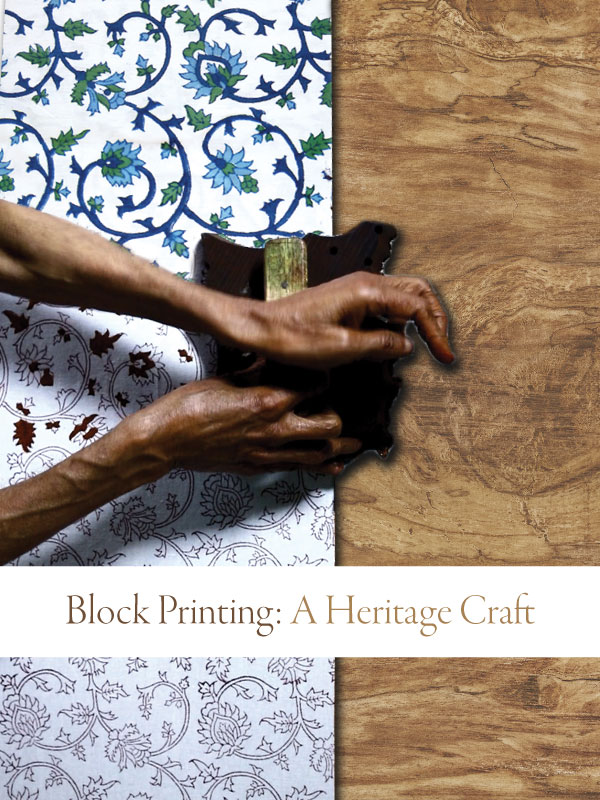
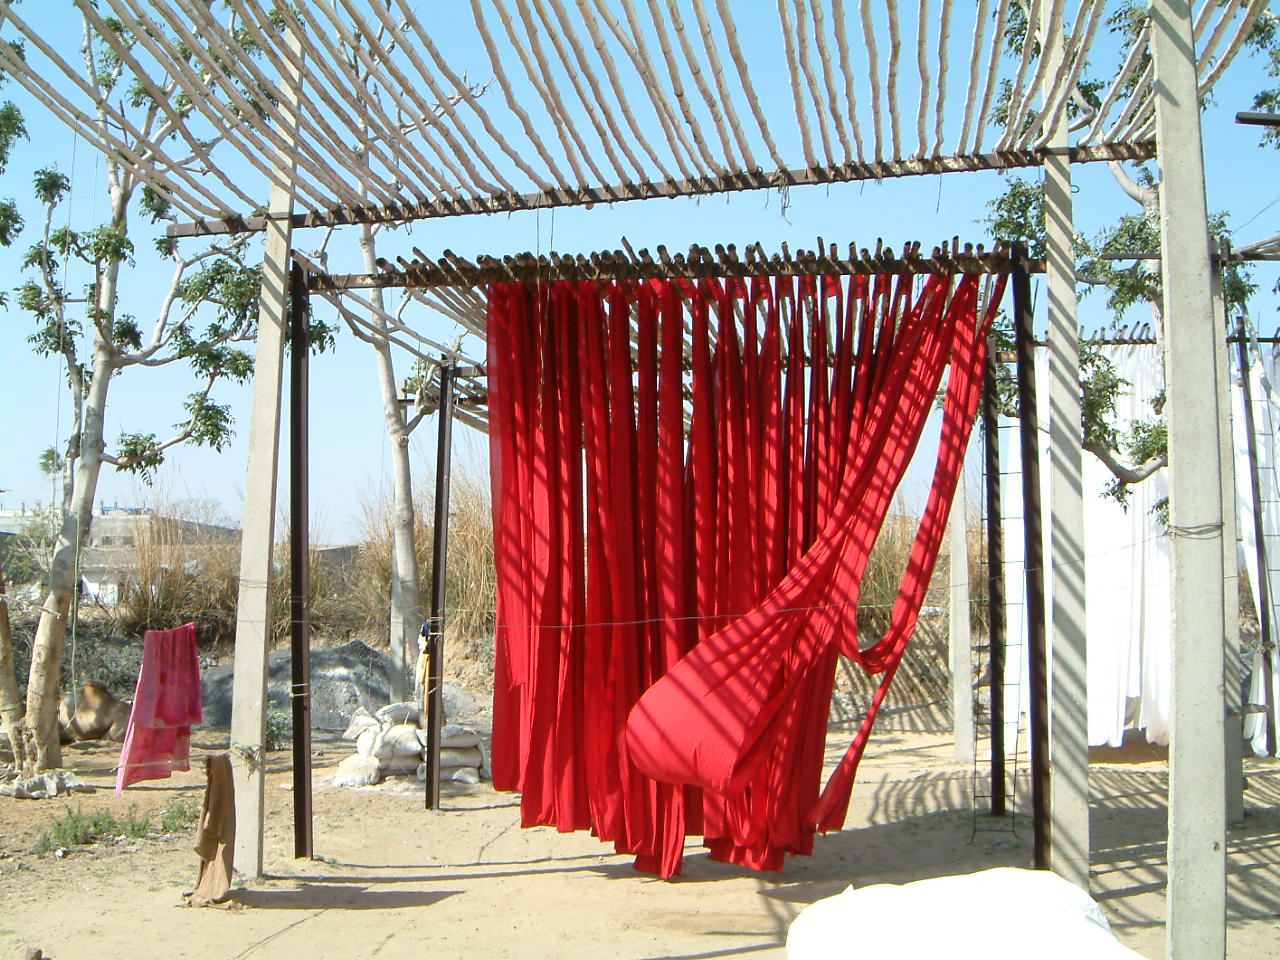
Orange Blossom is one of our most difficult collections to prints. In this post you will get a sense of the workmanship it takes to bring it to life. Beware– this not one of those posts that you simply skim through 🙂
It all starts with a seemingly simple step, which in reality is not simple at all! The fabric needs to be pinned taut on each side.
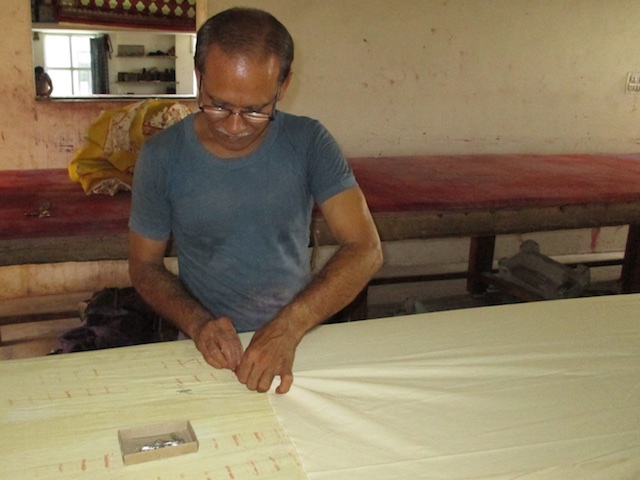
Getting ready to print the border: measuring is an important step and it needs to be precise.
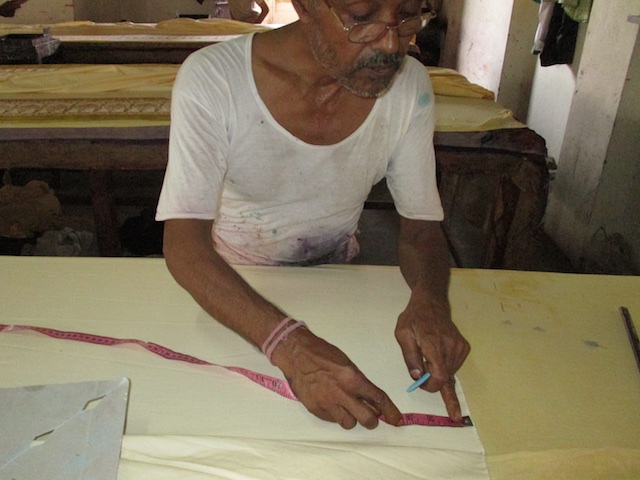
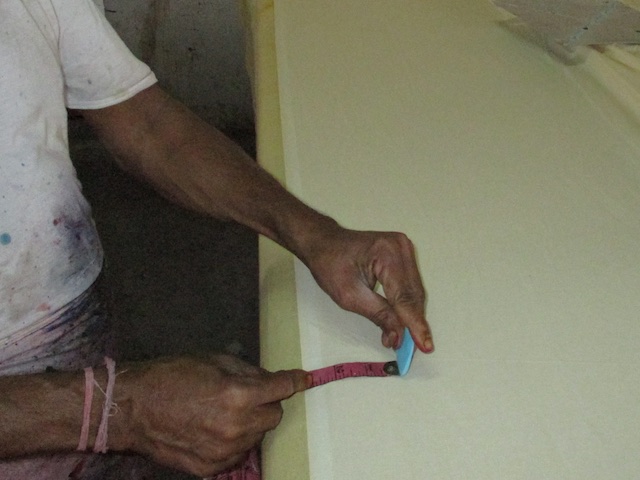
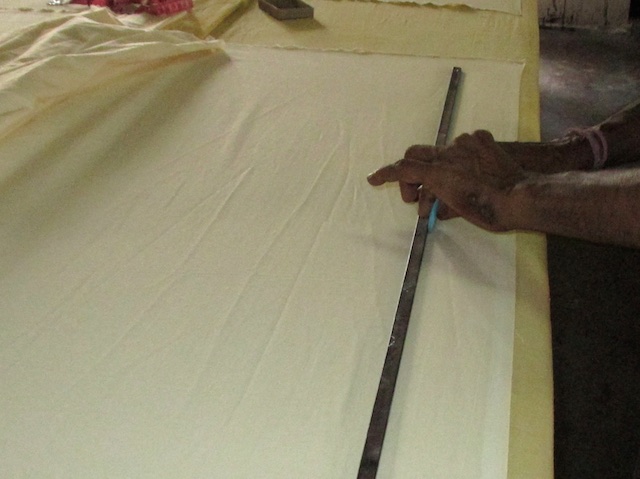
Printing the corners tends to be tricky…
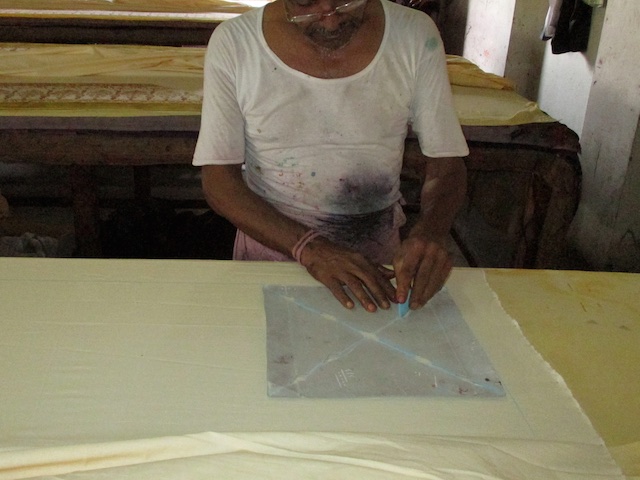
On to the border now with Block #1
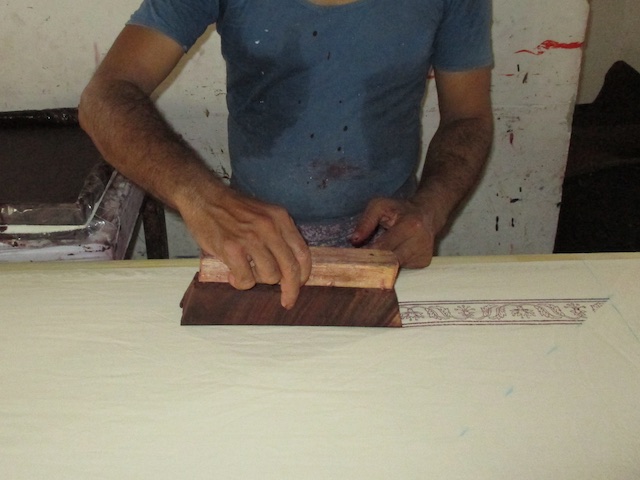
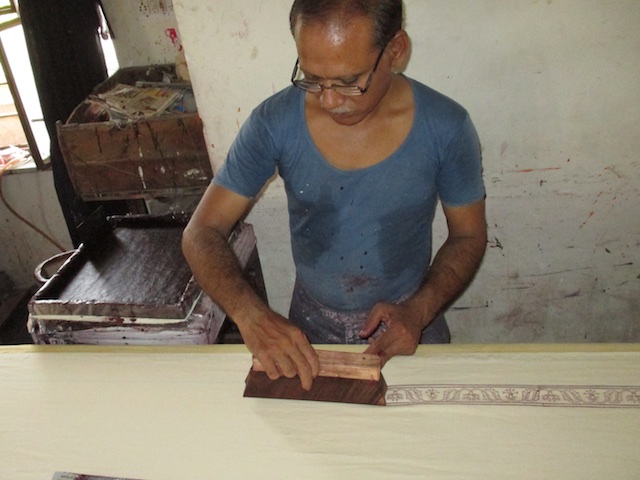
Some people wonder why the lines don’t look perfectly straight: these are the “block joints.” This is one sure way to distinguish traditional block printed from screen printed textiles.
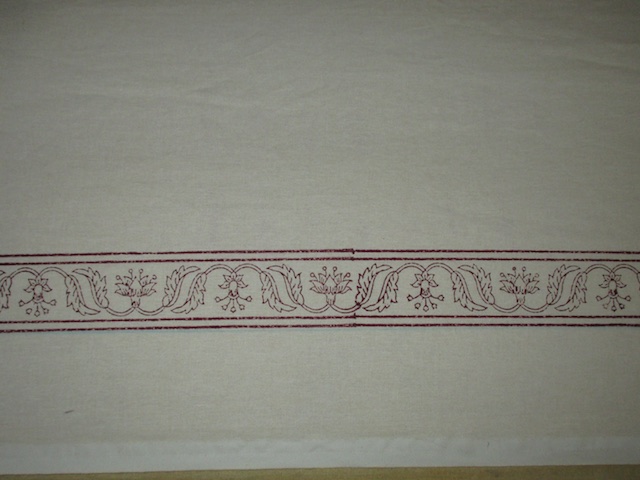
Border continued Block #2
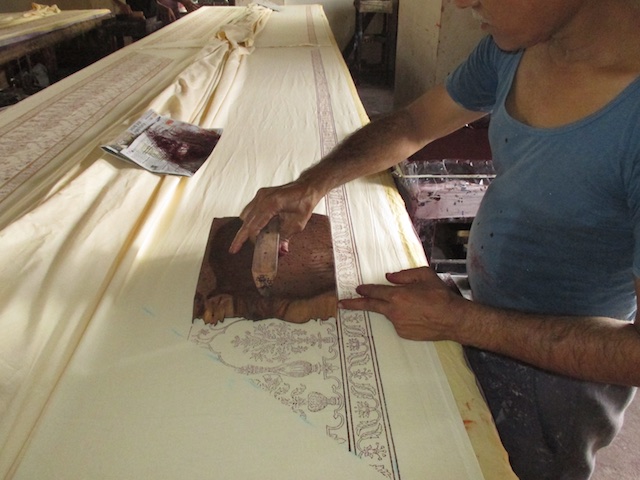
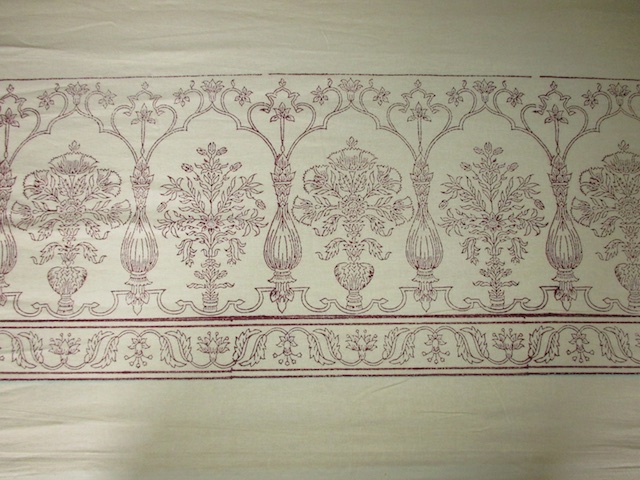
Using Block #1 again to finish up the border
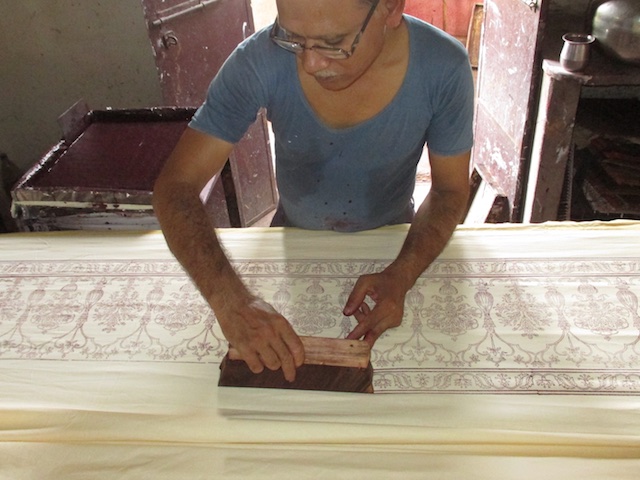
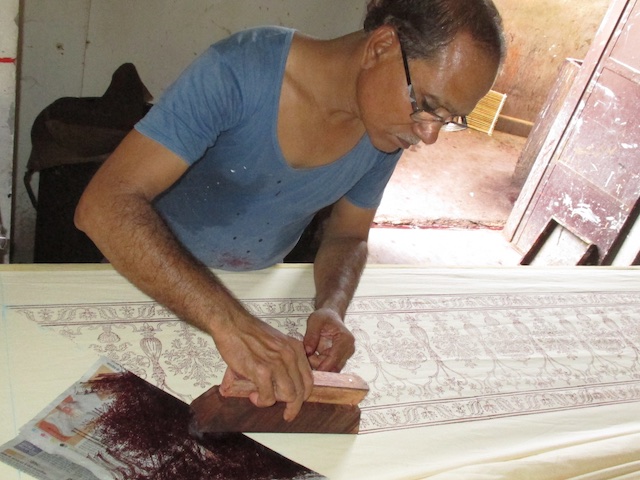
Border outline complete
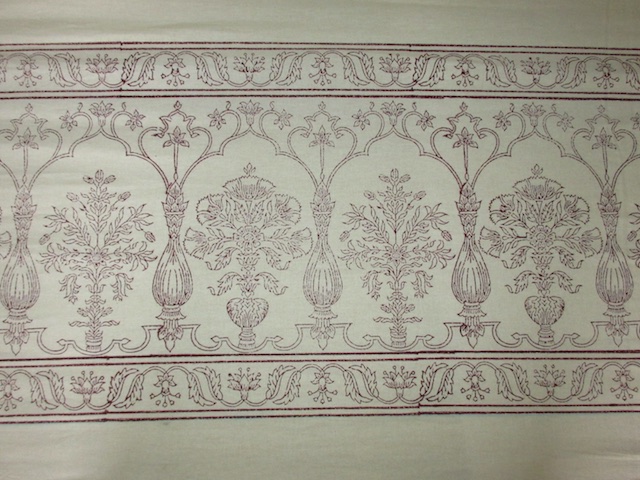
Moving on to blocks to fill in the color –Block #3: Orange. In the photograph it looks gold, but it will turn to orange as it dries.
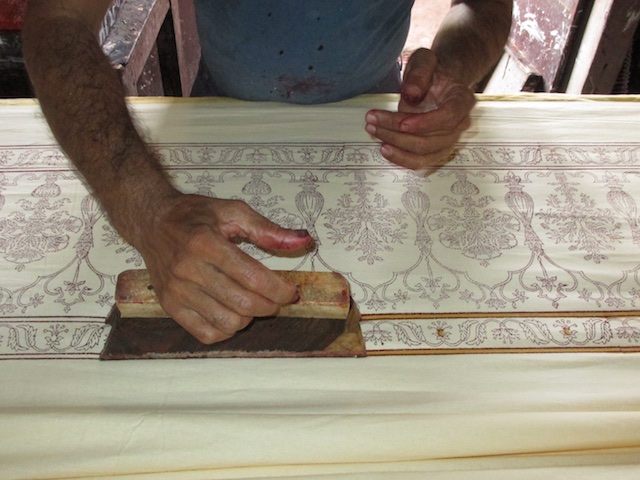
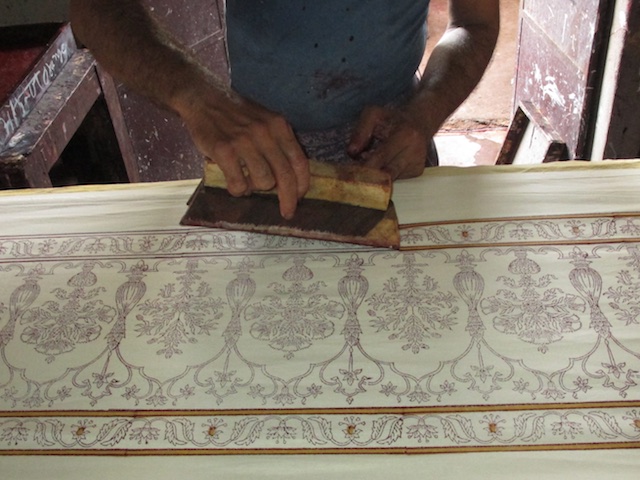
Block #4: color – Orange. The main part of the border.
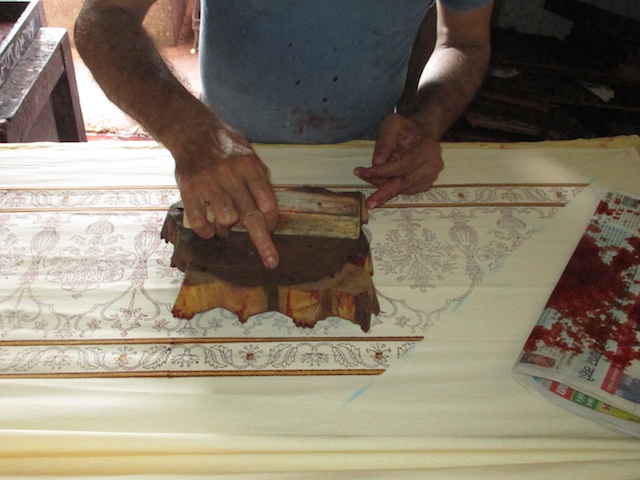
Border with the first color block printed.
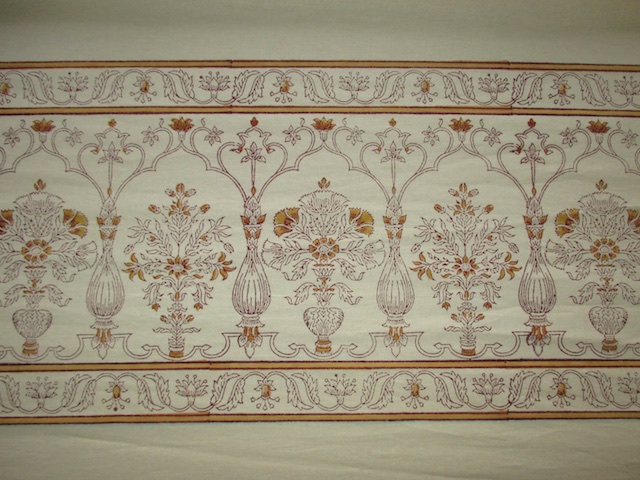
This is how the orange will finally look.
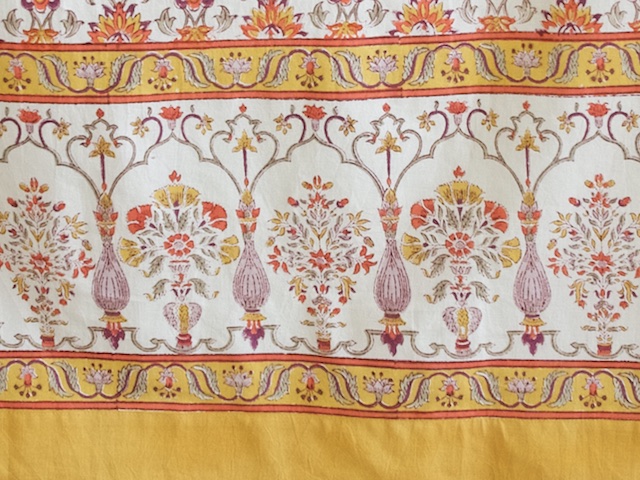
Block #5: Sage green. You will have to have a swatch or one of the items in this print in front of you to really see which part of the border is being filled in. This block is one of the most intricate of the set.
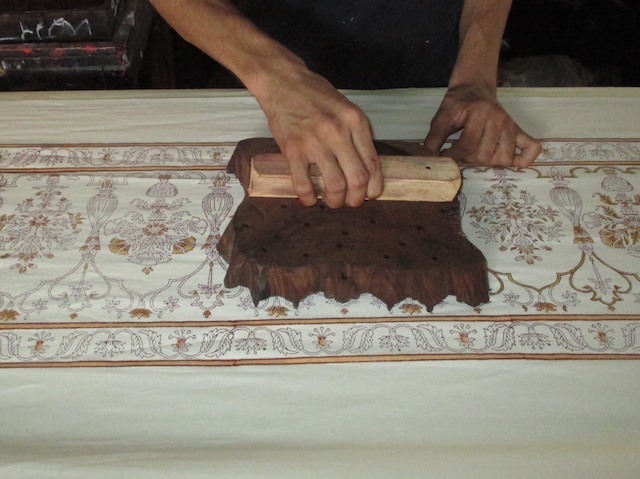
Block #6: Filling in the sage green for the foliage in the border
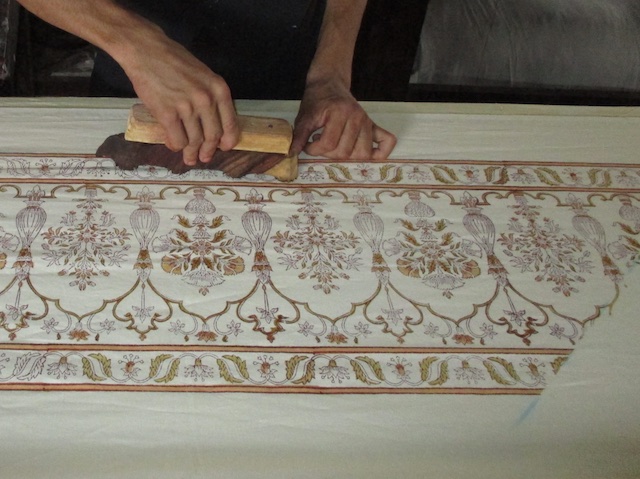
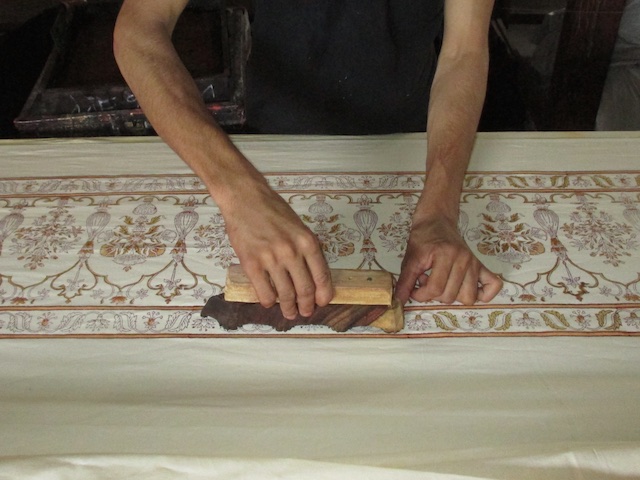
This is how it looks in it’s final form after printing (2 colors filled in, orange and sage green)
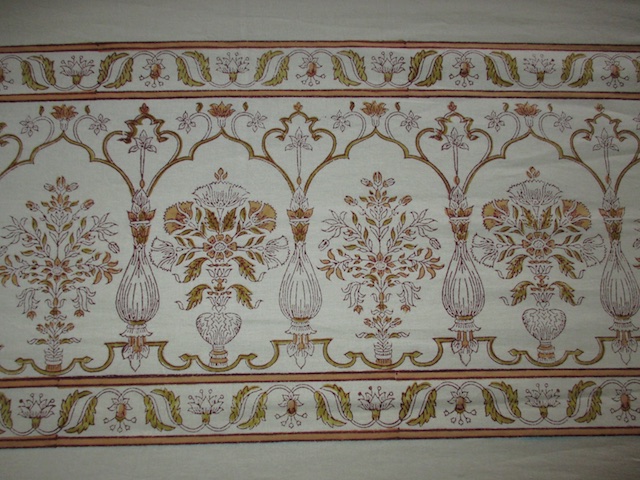
In this closeup, try to find which block has filled in which part of the print! It’s indeed awe-inspiring…
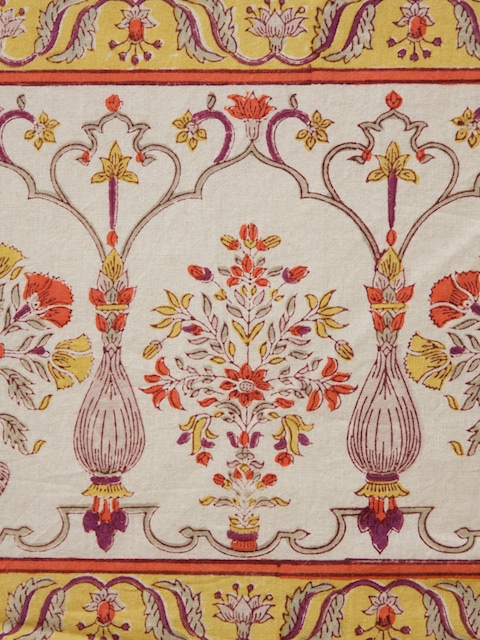
Block #7: Moving on to the deep purple highlights
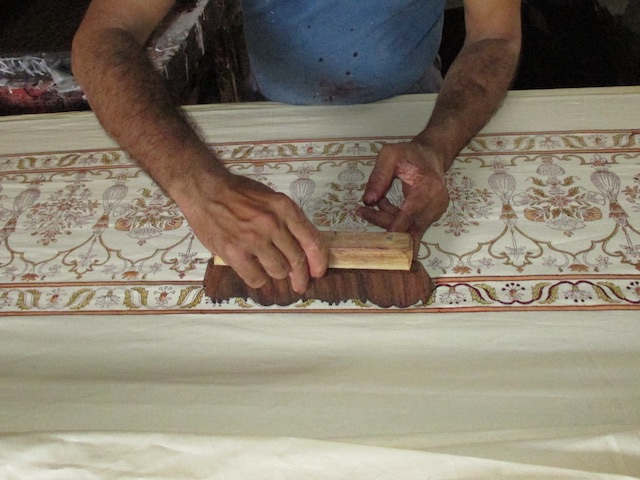
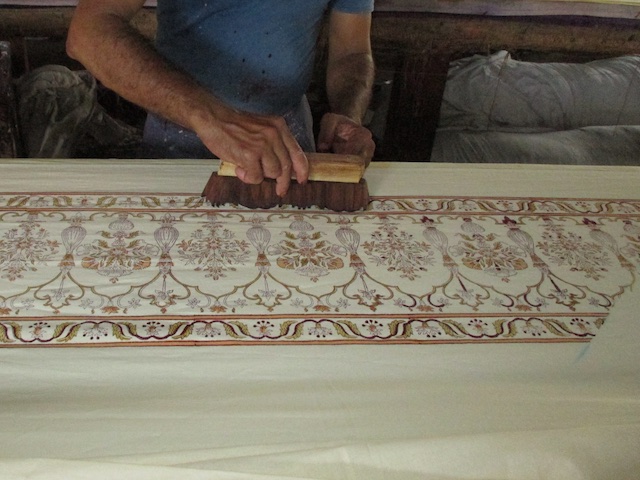
Block #8
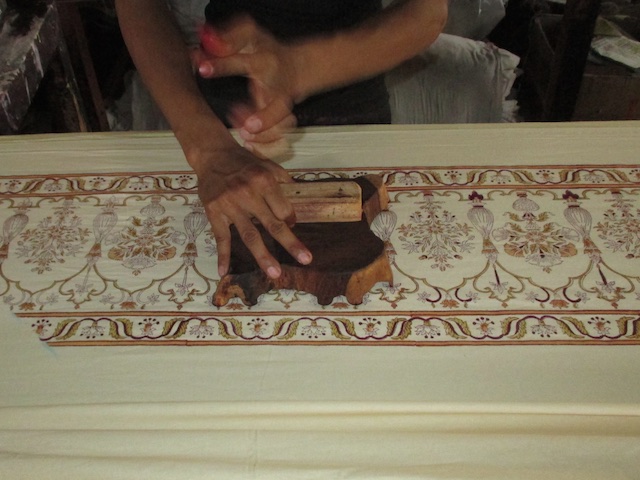
Now with 3 colors filled in: Orange, Sage Green, Purple highlights
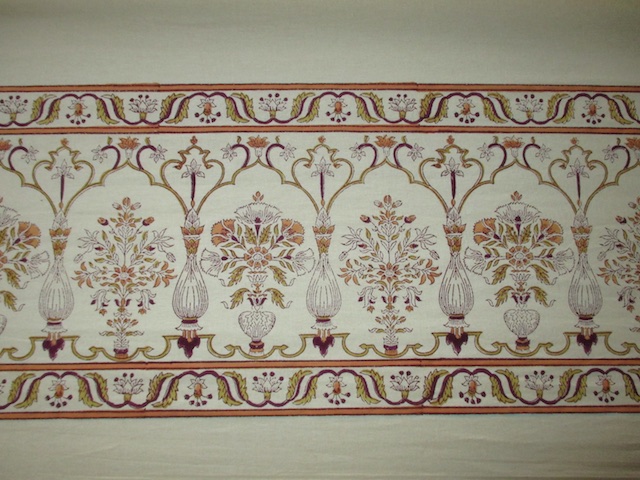
Once again, let’s look at the border to see how it all looks in its final form:

Block #9: Moving on to the blossoms and to the bulbs in the border. The color is dull violet.
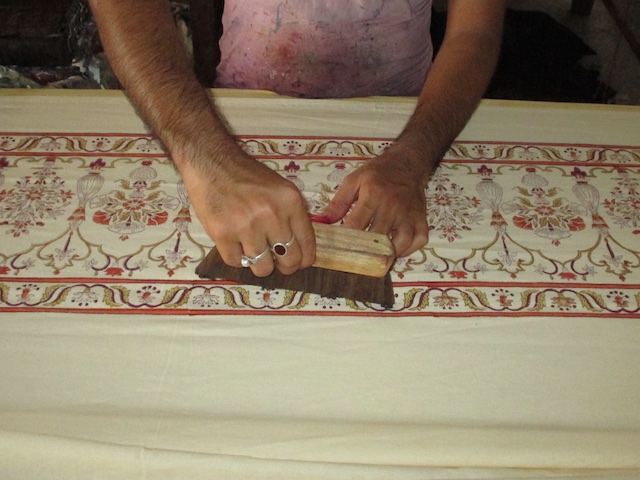
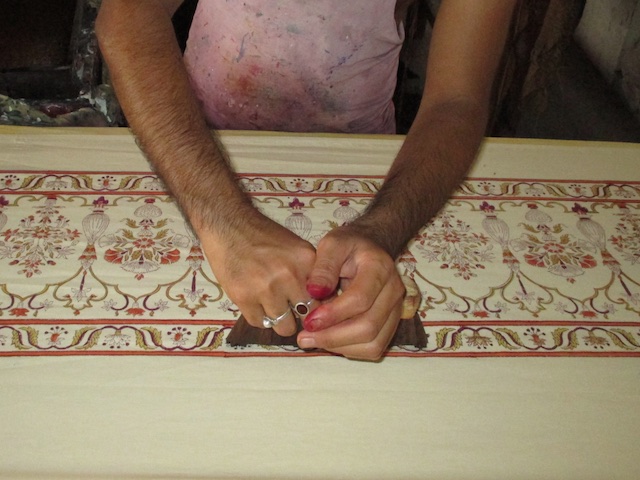
Block #10
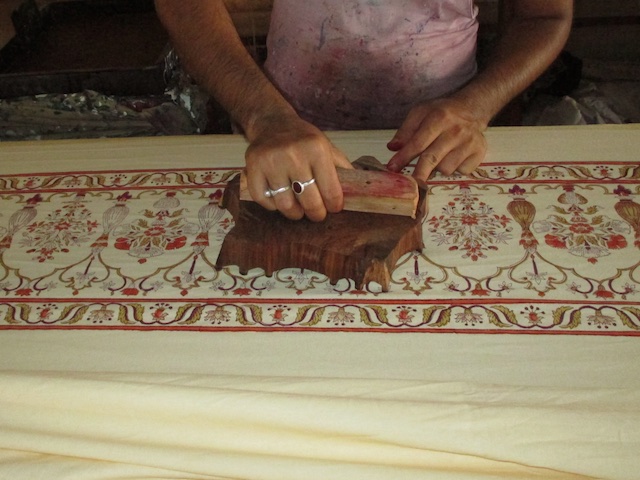
Now with 4 colors filled in: Orange, Sage Green, Purple highlights, dull Violet
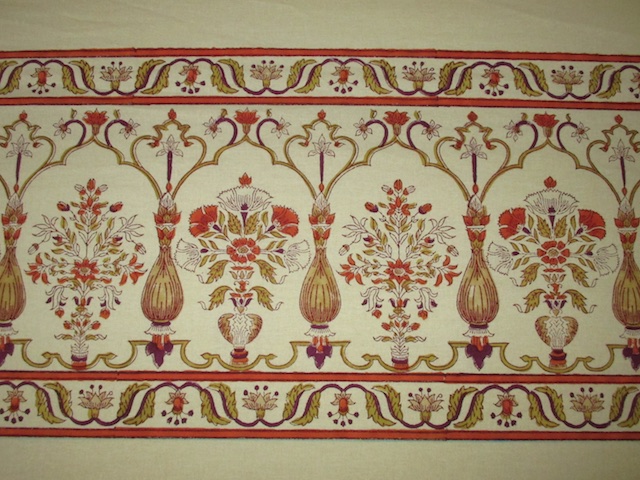
Once again, let’s look at the border to see how it all looks in its final form. You can easily spot the 4 colors that have being blocked on till now.

Block #11: Now to color #5, Yellow to fill it the blossoms in the main part of the border and the background for the top and bottom strips.
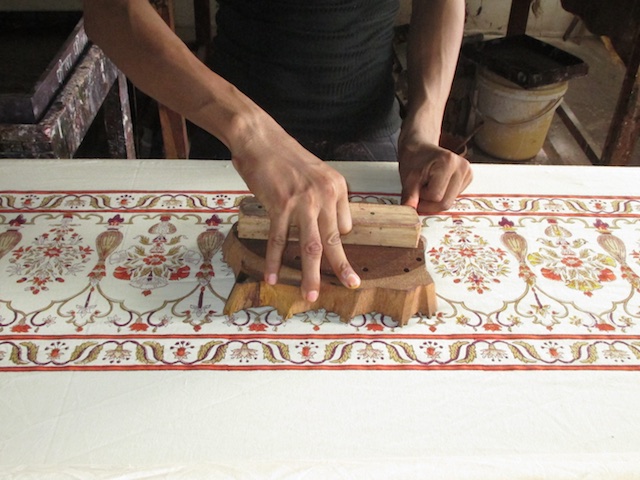
Block #12
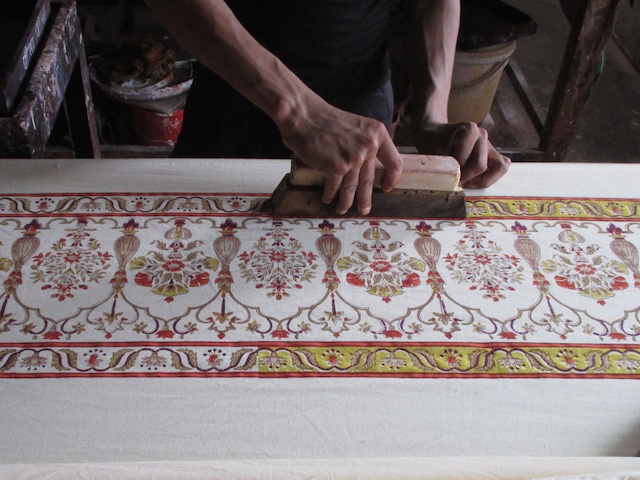
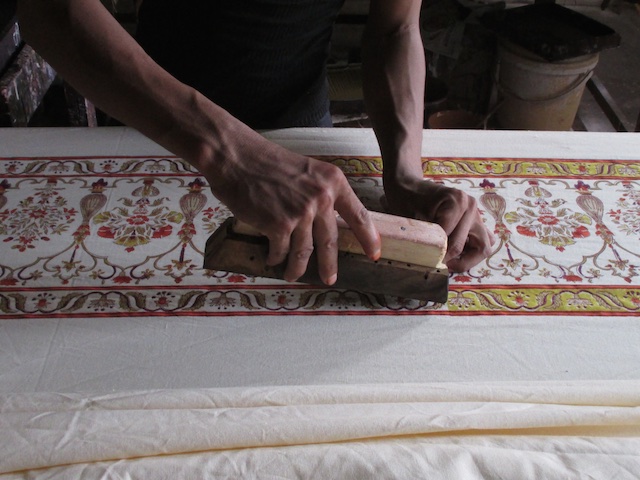
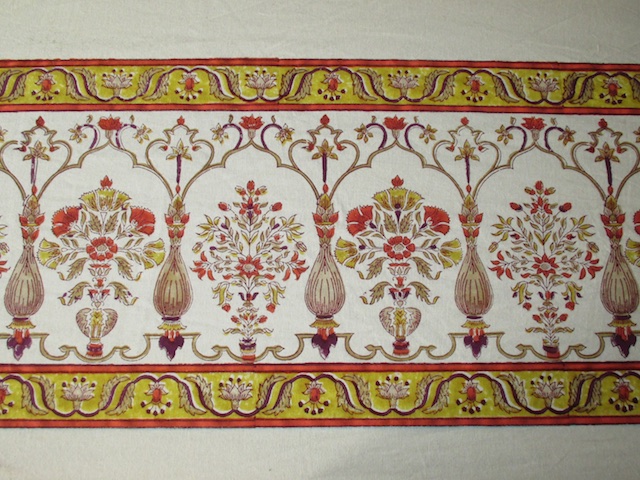
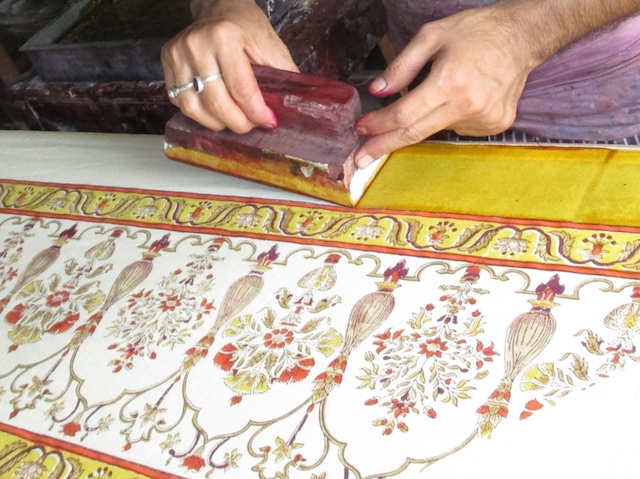
And finally Block #13. I would imagine this is one block that’s easy to align and use!
Border is complete! Now with all 5 colors filled in: Orange, Sage Green, Purple highlights, dull Violet, Yellow
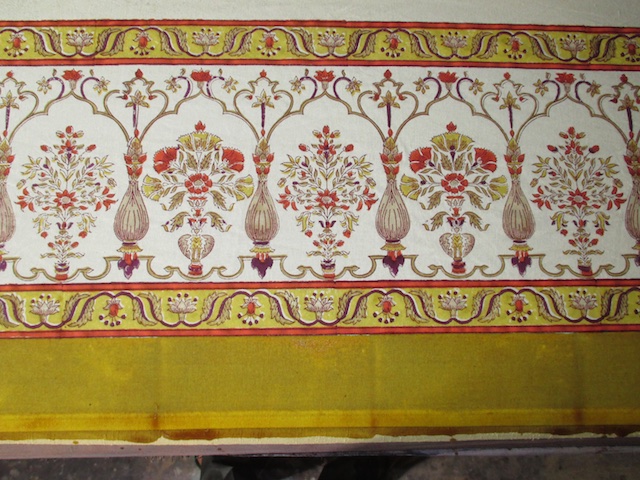
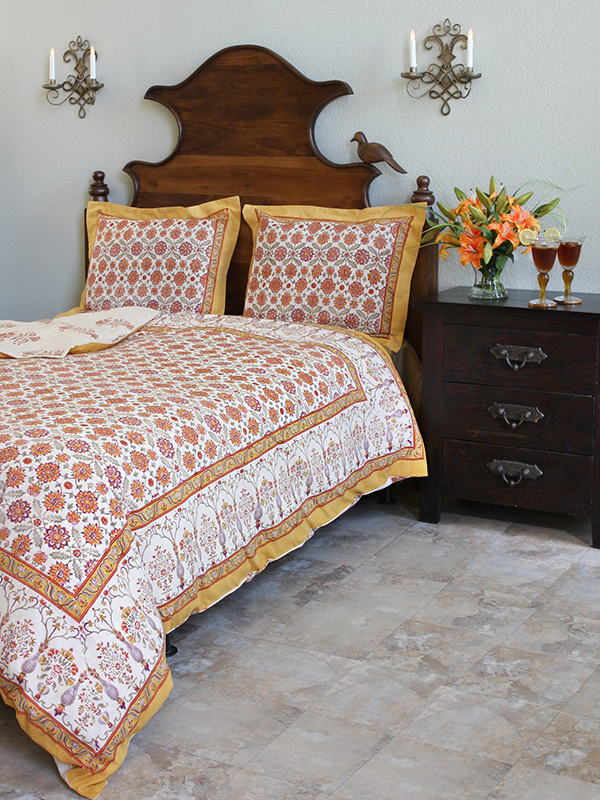
Nothing like seeing how it will look on a completed piece.
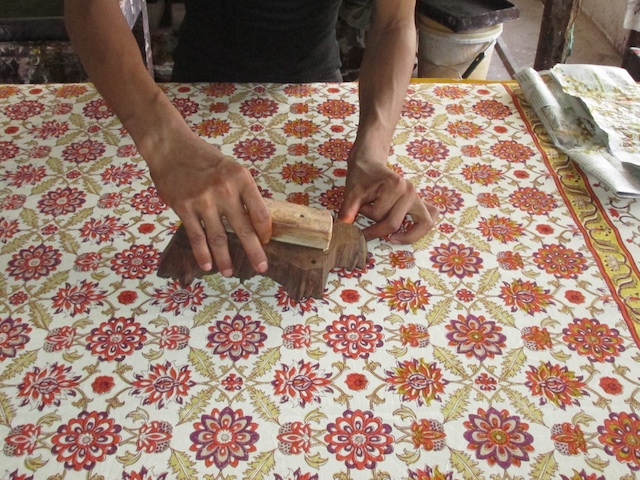
Moving on to the main print now… Block #14 (the outline)
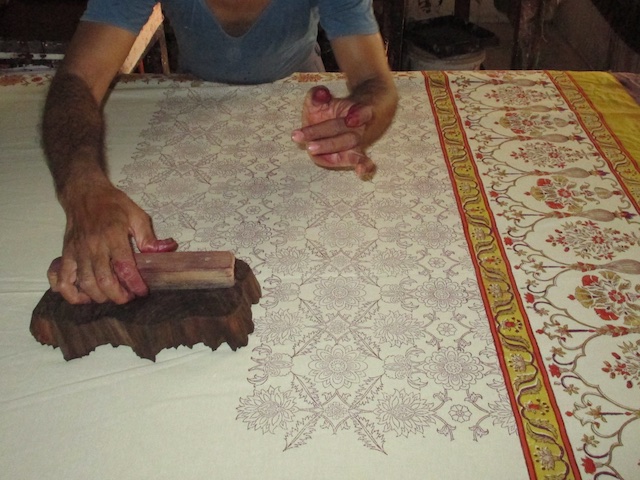
The area close to the border needs to be printed carefully
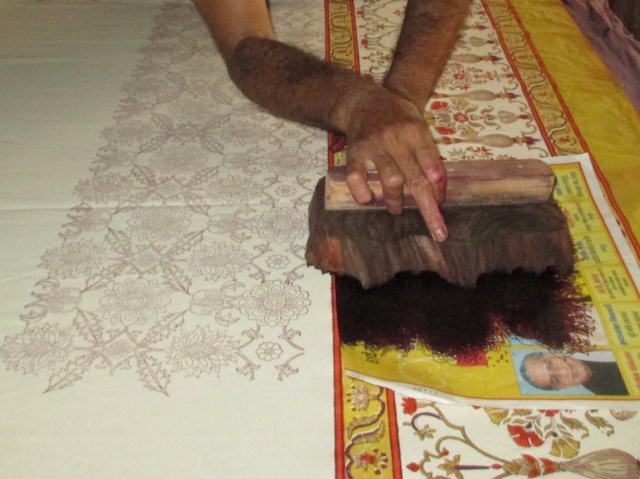
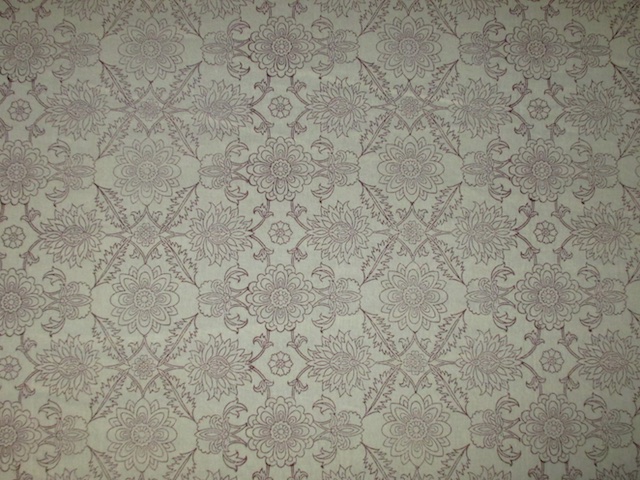
Block #15: Starting with Orange
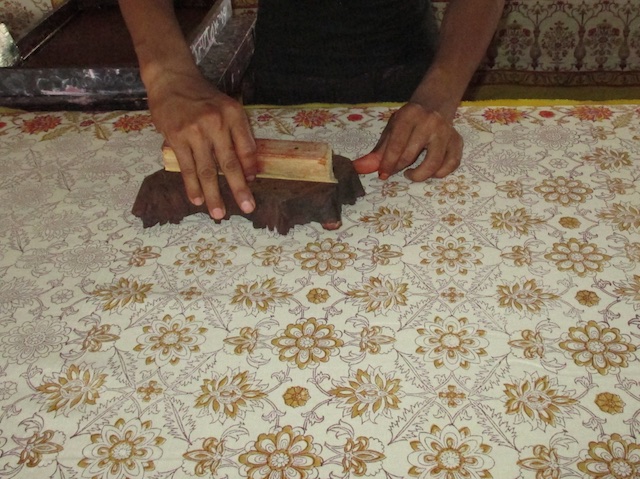
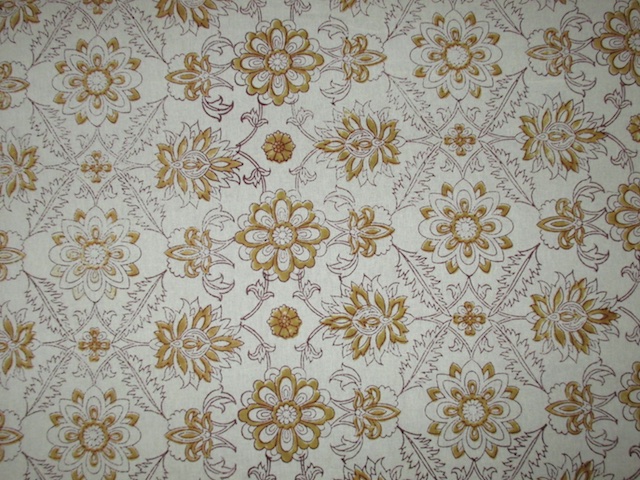
Block #16: then with the dull Violet
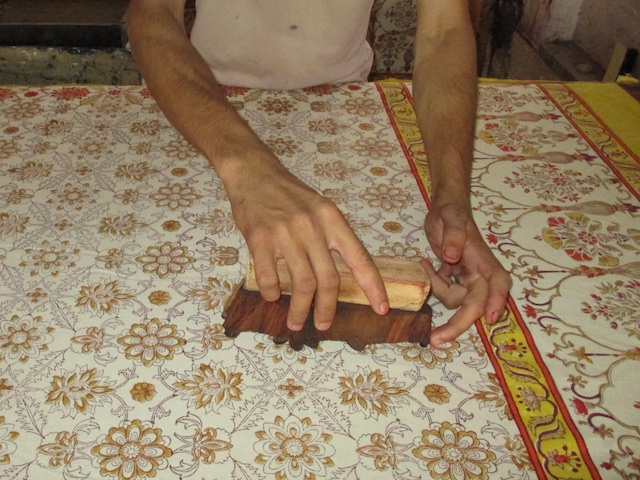
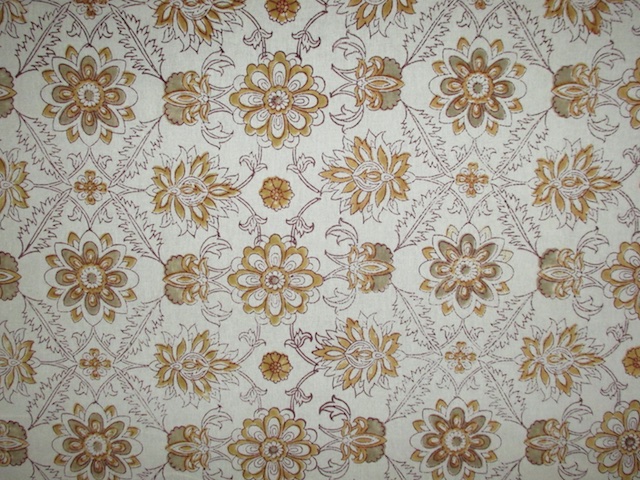
Block #17: then the green foliage
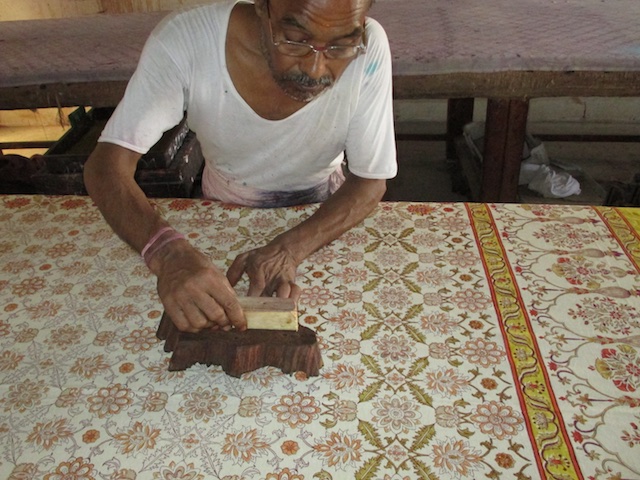
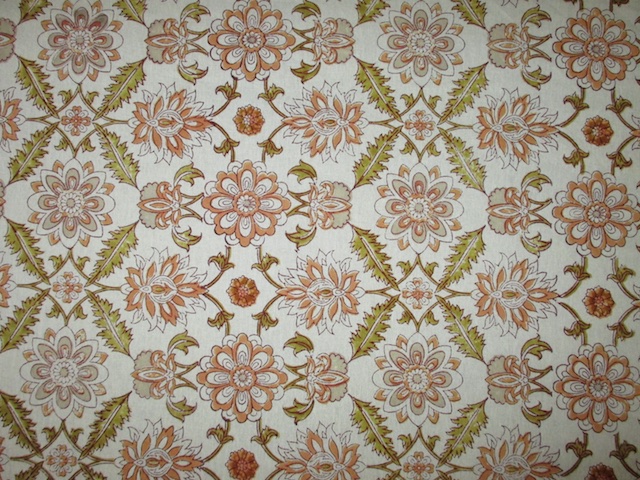
Block #18: then the purple highlights
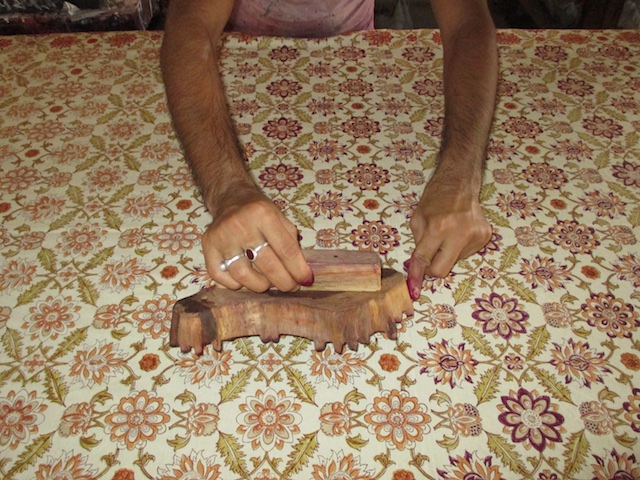
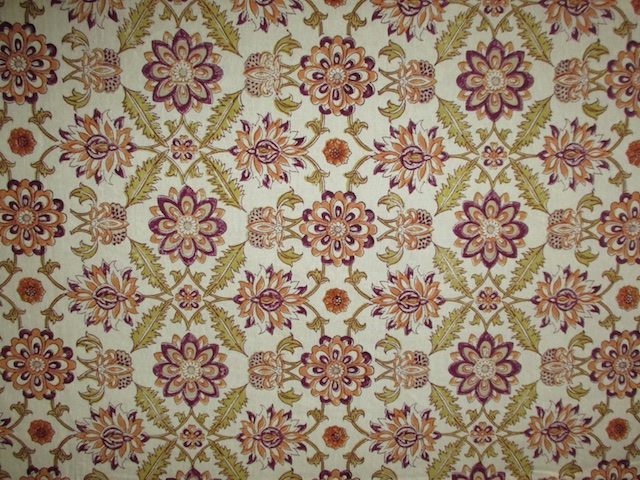
Block #19: and finally the yellow
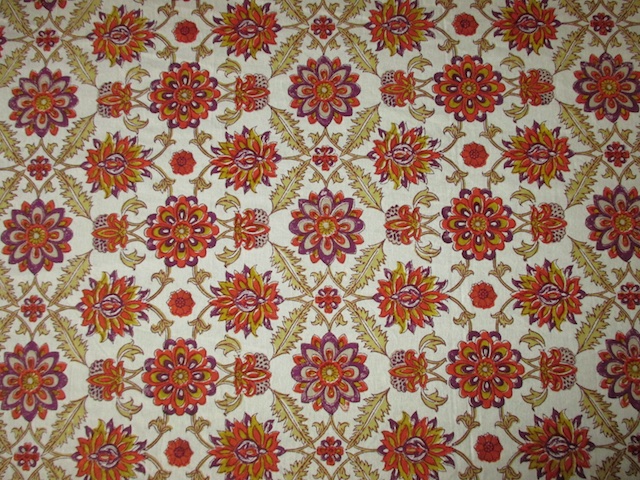
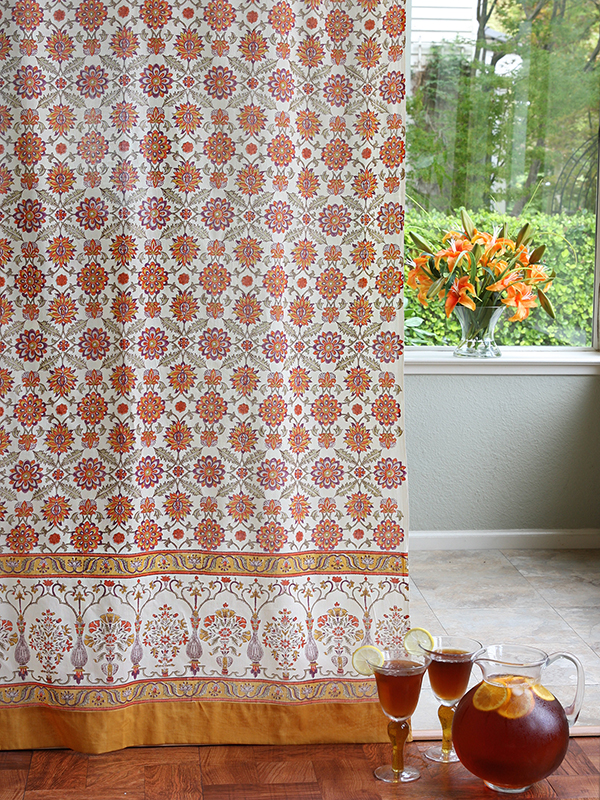
This is how the main print will finally look (after drying and after multiple rounds of washing): A Persian, Mediterranean, tropical-inspired vintage floral print consisting of stylized orange-yellow blossoms accented with deep purple, intricately framed with soft sage green foliage, all lushly pattered across a cream ground.
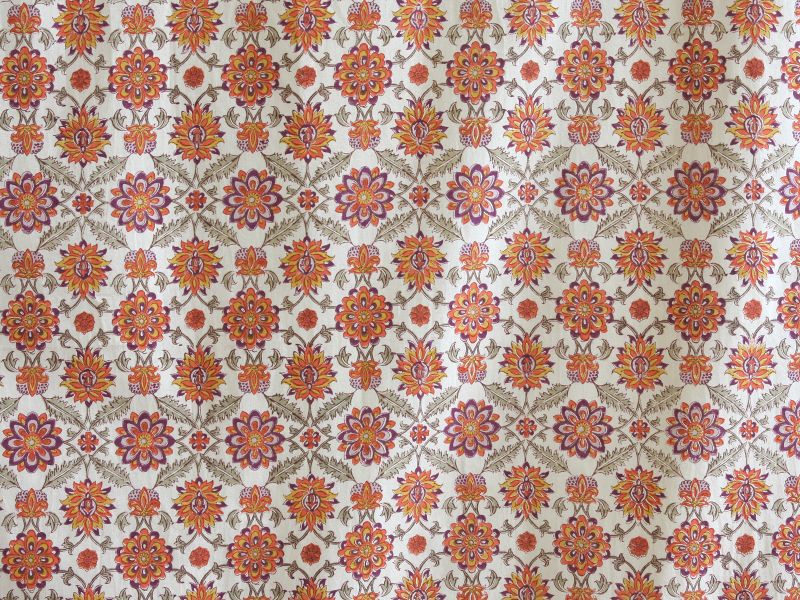
And here’s a picture of the Orange Blossom tablecloth. It has been very popular this season!
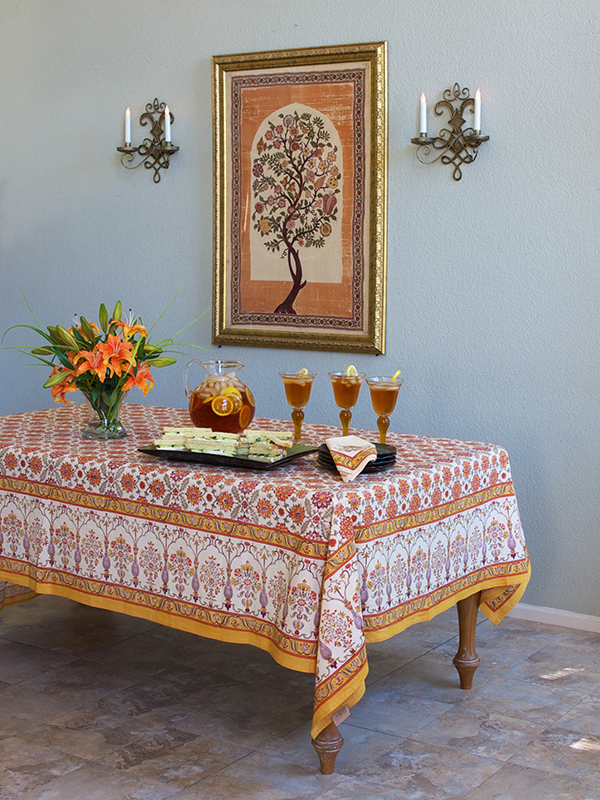
As part of building Saffron Marigold, our lives have been defined by this work for almost a decade now, yet it never ceases to amaze me how these beautiful linens come to life one block at a time. I am excited to bring this very traditional and handmade craft form to you and would love to hear from you. You can comment below.
Also, if you know someone who would appreciate this work, please do share with them.
And finally, if gaining an appreciation of how Orange Blossom is printed has motivated you to take a look at the collection, or may be even make a purchase, you can find it here.


